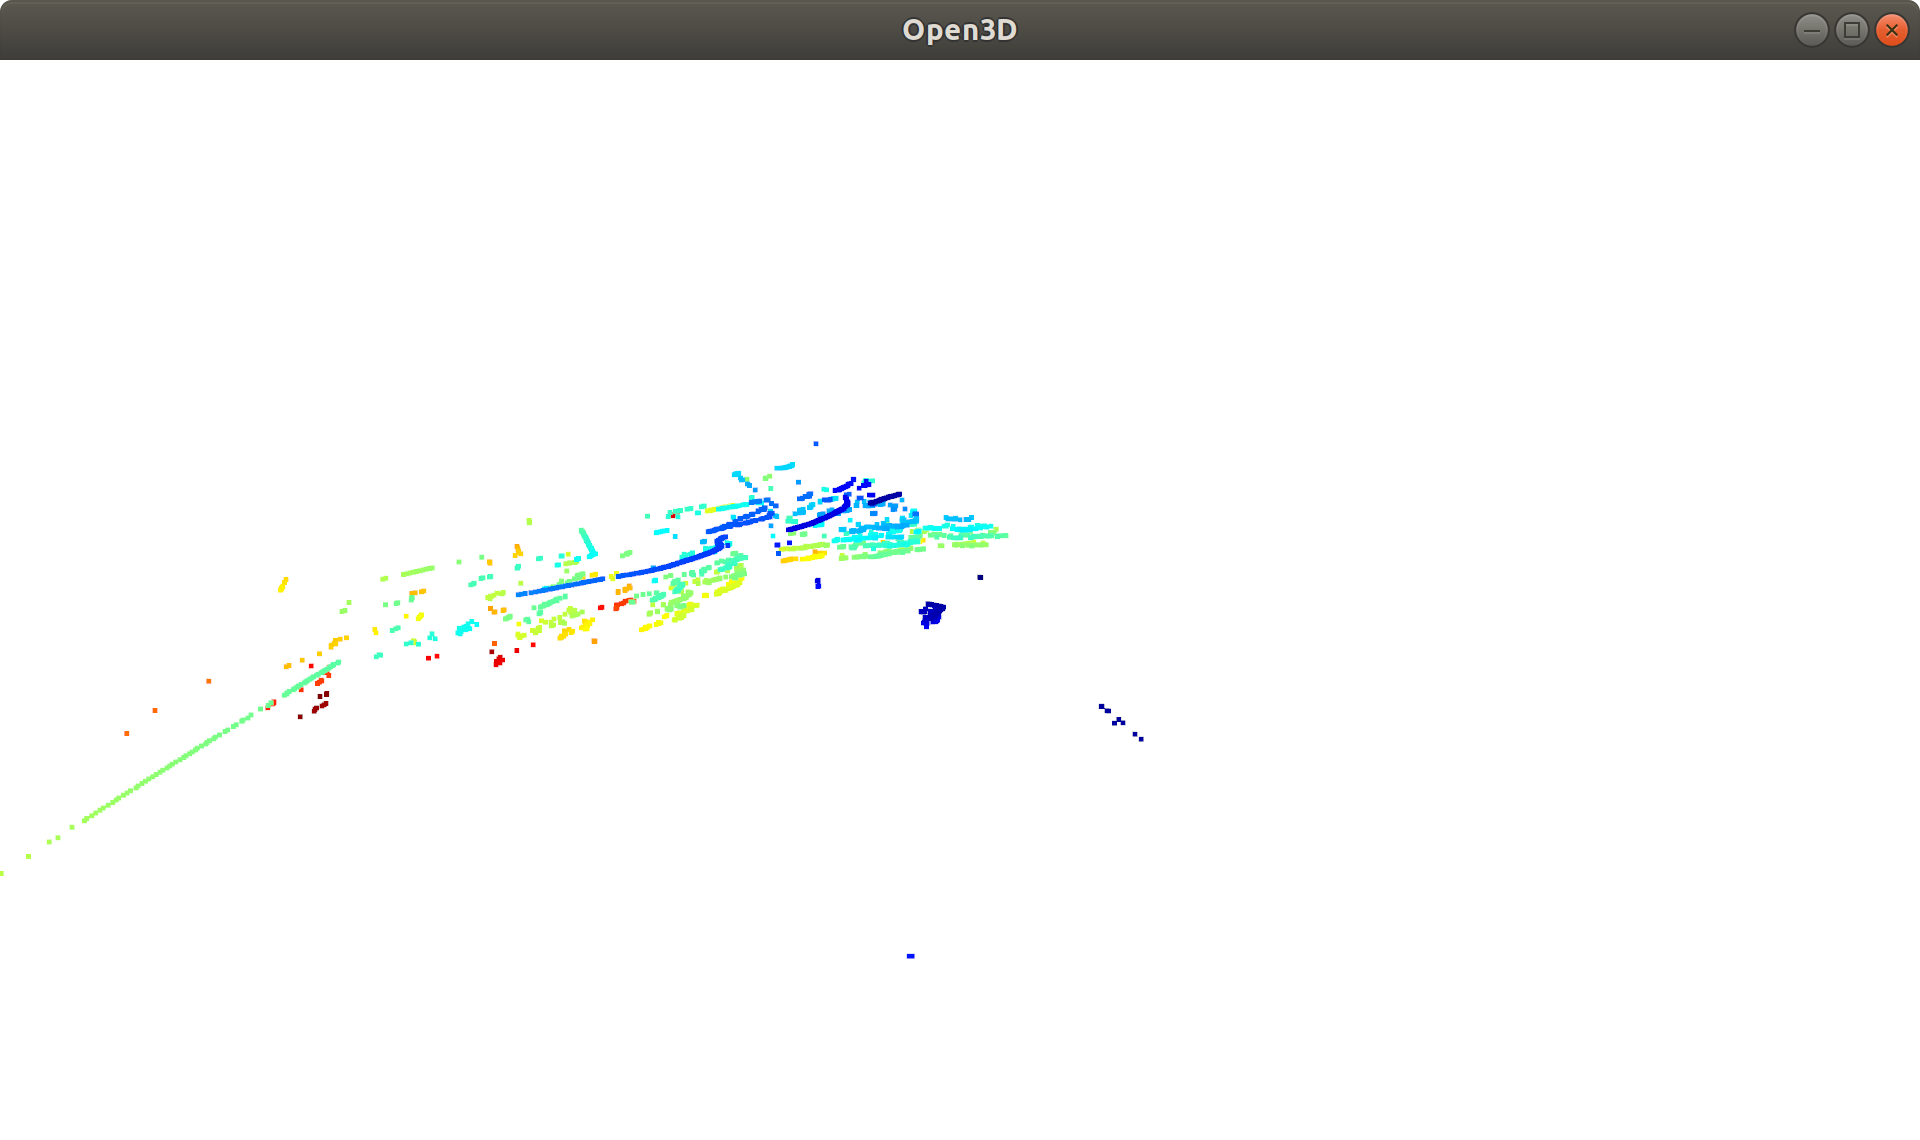
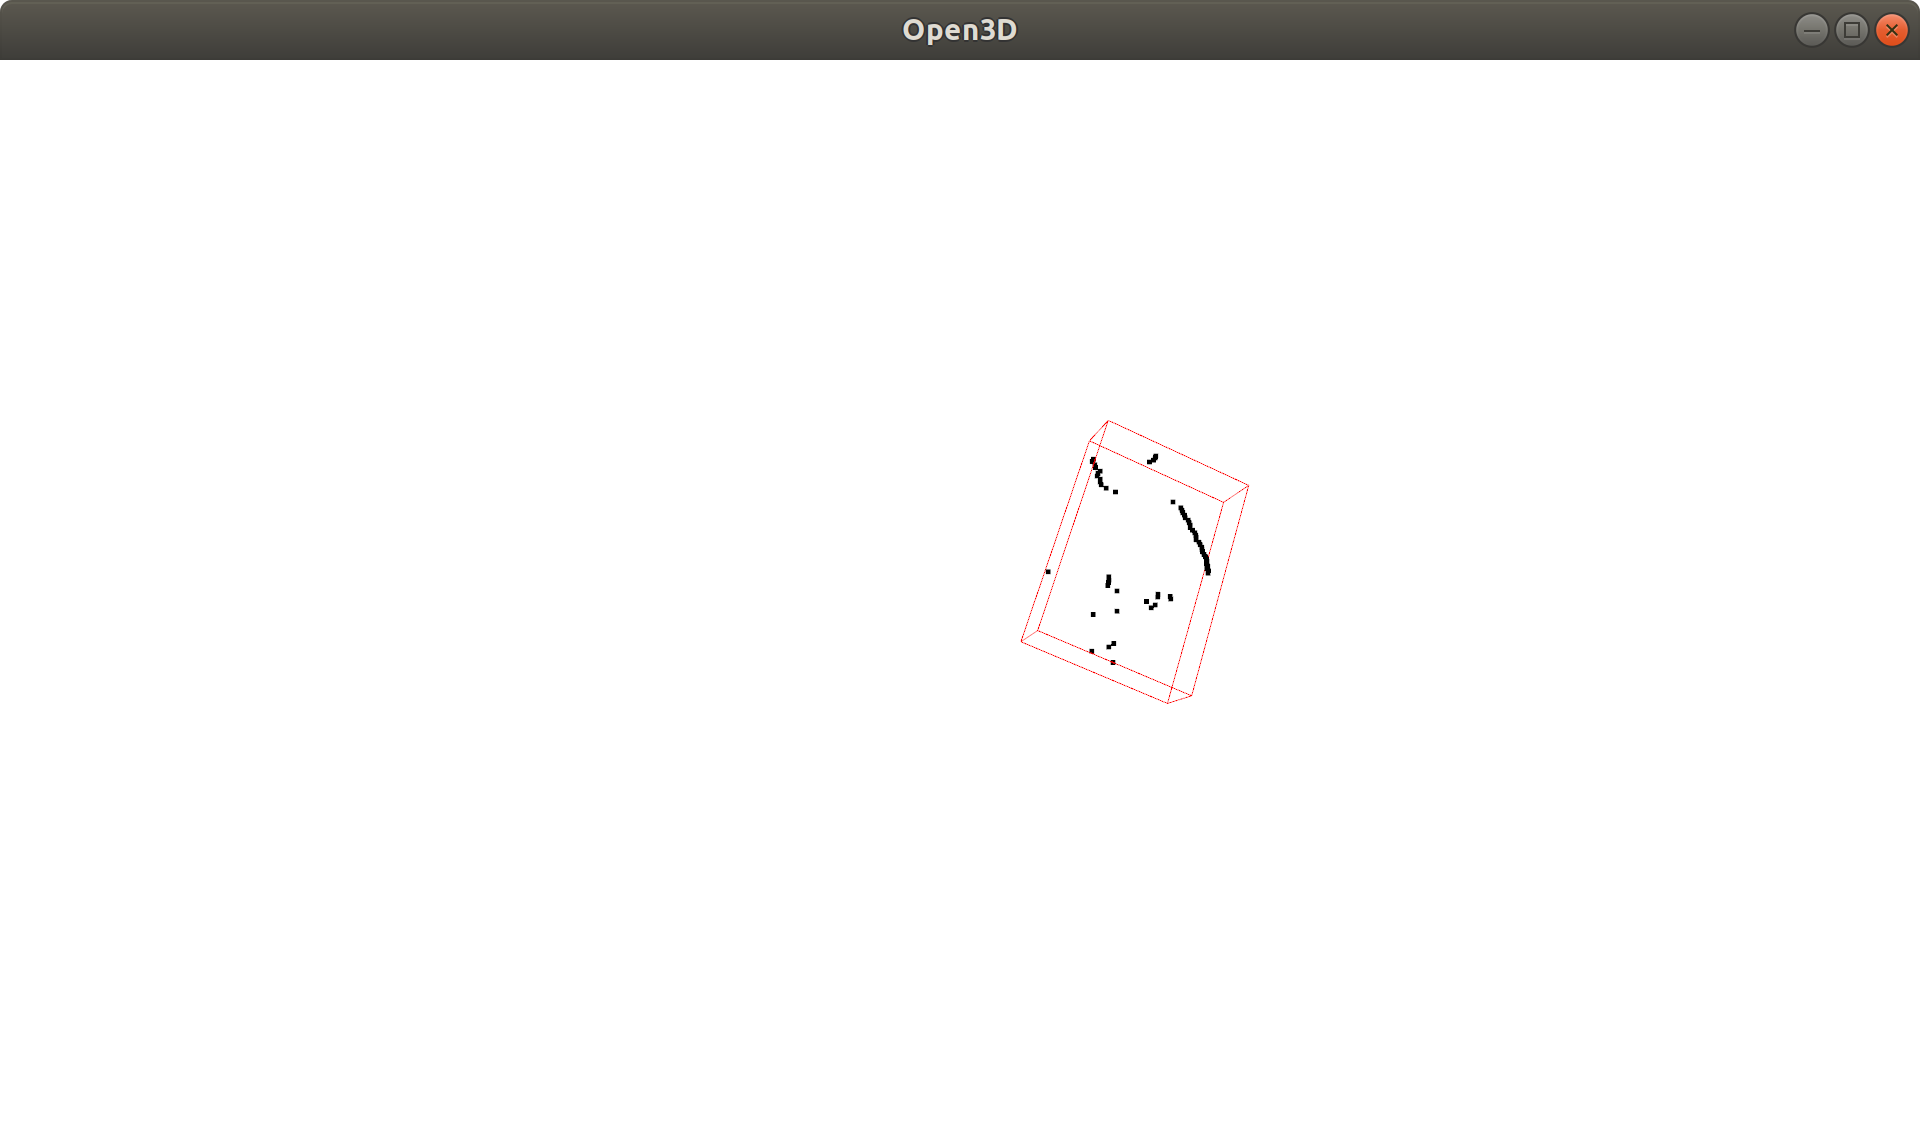
Open3D - Обрезка облака точек с помощью многоугольника
Каждый ,
Я хочу обрезать и сохранить область из облака точек и сохранить ее.
У меня есть координаты BBox (maxx,maxy,minx,miny), которые являются MaxP и MinP для Pointcloud, и я хочу сделать из него многоугольник. С участиемbbox_to_Polygon(MaxP,MinP) координаты BBox преобразуются в угловые точки. Их следует использовать для создания двух полигонов. Из этого я сделал многогранник с помощью pyny3D.
"Теперь я могу скормить open3d.visualization.SelectionPolygonVolume() Volume", - подумал я. Я не хочу использовать JSON-файл, как описано в Open3d Docs Crop from Cloud. Итак, я нашел это Как создать объект open3d.visualization.SelectionPolygonVolume без загрузки файла json.
Почему orthogonal_axis="Y"? Почему не только по оси "Z"? В примере с JSON-файлом значения Y равны 0. Я бы предложил из-заorthogonal_axis="Y"но я не понимаю почему? Разве нам не нужен PolygonVolume?
Буду признателен за помощь.
Я работаю с Google Colab и Jupyter Notebook Python 3.6.
#Vertics Poyhedrol to create a PolygonVolume
bounding_polygon = np.array([

#Vertics Polygon 1
        [488.8989868164062, 612.208984375, 286.5320129394531],
        [485.114990234375, 612.208984375, 286.5320129394531],
        [485.114990234375, 605.0880126953125, 286.5320129394531],
        [488.8989868164062, 605.0880126953125, 286.5320129394531],
#Vertics Polygon2
        [488.89898681640625, 612.208984375, 291.6619873046875],
        [485.114990234375, 612.208984375, 291.6619873046875],
        [485.114990234375, 605.0880126953125, 291.6619873046875],
        [488.89898681640625, 605.0880126953125, 291.6619873046875]]).astype("float64")


vol = o3d.visualization.SelectionPolygonVolume()
vol.orthogonal_axis = "Y"
vol.axis_max = 500
vol.axis_min = 700
vol.bounding_polygon = o3d.utility.Vector3dVector(bounding_polygon)

comp = vol.crop_point_cloud(pcd)
comp

#Since I took the MaxP and MinP of the Pointcloud as BBCoords I would expect the same number of points. But I get this:
#`geometry::PointCloud with 0 points`
Вот весь код
import numpy as np
import pyny3d
import pyny3d.geoms as pyny
import open3d as o3d
from open3d import JVisualizer

path_incloud = ('/gdrive/My Drive/Colab Notebooks/Georeferenzierung/BildGeoreferenzieren/PointCloud/PointCloudFormats/Kranfundament - Cloud.ply')
pcd = o3d.io.read_point_cloud(path_incloud)
print("Input Cloud:", pcd)

visualizer = JVisualizer()
visualizer.add_geometry(pcd)
visualizer.show()

def bbox_to_Polygon(MaxP,MinP):


      p1= [MaxP[0], MaxP[1], MinP[2]]
      p2= [MaxP[0],MinP[1],MinP[2]]
      p3= [MinP[0],MaxP[1],MinP[2]]
      p4= MinP
      p5= MaxP
      p6= [MinP[0],MaxP[1],MaxP[2]]
      p7= [MinP[0],MinP[1],MaxP[2]]
      p8= [MaxP[0],MinP[1], MaxP[2]]

      listPoints1 = [p1,p3,p4,p2]
      print(listPoints1)

      listPoints2 = [p5,p6,p7,p8]
      print(listPoints2)
      return  listPoints1,listPoints2

MaxP = MaxPoint_PointCloud
MinP = MinPoint_PointCloud

listPointsPoly1 , listPointsPoly2  = bbox_to_Polygon(MaxP= MaxP, MinP=MinP)

poly1 = pyny.Polygon(np.array(listPoints1))
poly2 = pyny.Polygon(np.array(listPoints2))

poly1.plot()
poly2.plot()

polyhedron = pyny.Polyhedron.by_two_polygons(poly1, poly2)

polyhedron.plot('b')

MaxP = MaxPoint_PointCloud
MinP = MinPoint_PointCloud

#Vertics Poyhedrol to create a PolygonVolume
bounding_polygon = np.array([
#Vertics Polygon 1
        [488.8989868164062, 612.208984375, 286.5320129394531],
        [485.114990234375, 612.208984375, 286.5320129394531],
        [485.114990234375, 605.0880126953125, 286.5320129394531],
        [488.8989868164062, 605.0880126953125, 286.5320129394531],
#Vertics Polygon2
    [488.89898681640625, 612.208984375, 291.6619873046875],
    [485.114990234375, 612.208984375, 291.6619873046875],
    [485.114990234375, 605.0880126953125, 291.6619873046875],
    [488.89898681640625, 605.0880126953125, 291.6619873046875]]).astype("float64")


vol = o3d.visualization.SelectionPolygonVolume()
vol.orthogonal_axis = "Y"
vol.axis_max = 1000
vol.axis_min = -1000
vol.bounding_polygon = o3d.utility.Vector3dVector(bounding_polygon)

comp = vol.crop_point_cloud(pcd)
print("Cropped Cloud",comp)
3 ответа
Этот пост помог мне уйти достаточно далеко, чтобы обрезать облако точек в пределах кубоида. Я также постоянно сталкивался с
geometry::PointCloud with 0 points с помощью
vol.crop_point_cloud(pcd) и не мог заставить его работать, но я нашел другое решение.
В итоге я сослался на этот PR #1218, чтобы использовать кубоидный объем open3d.geometry.OrientedBoundingBox для обрезки облака точек. Приведенный ниже код создает кубоид "плитки" размером 200 x 200 м вокруг start_position, который соответствует стартовой позе эго-транспортного средства в облаке точек, и фильтрует точки, которые лежат только в пределах плитки.
import json
import numpy as np
import open3d as o3d

CUBOID_EXTENT_METERS = 200

METERS_BELOW_START = 5
METERS_ABOVE_START = 30

def main():
  ## Point Cloud
  points = np.array([
    ## These points lie inside the cuboid
    [-2770.94365061042, 722.0595600050154, -20.004812609192445],
    [-2755.94365061042, 710.0595600050154, -20.004812609192445],
    [-2755.94365061042, 710.0595600050154, -15.004812609192445],

    ## These points lie outside the cuboid
    [-2755.94365061042 + CUBOID_EXTENT_METERS, 710.0595600050154, -15.004812609192445],
    [-2755.94365061042, 710.0595600050154 + CUBOID_EXTENT_METERS, -15.004812609192445],
  ]).reshape([-1, 3])

  point_cloud = o3d.geometry.PointCloud()
  point_cloud.points = o3d.utility.Vector3dVector(points)

  ## Start point here corresponds to an ego vehicle position start in a point cloud
  start_position = {'x': -2755.94365061042, 'y': 722.0595600050154, 'z': -20.004812609192445}
  cuboid_points = getCuboidPoints(start_position)

  points = o3d.utility.Vector3dVector(cuboid_points)
  oriented_bounding_box = o3d.geometry.OrientedBoundingBox.create_from_points(points)
  point_cloud_crop = point_cloud.crop(oriented_bounding_box)

  # View original point cloud with the cuboid, all 5 points present
  o3d.visualization.draw_geometries([point_cloud, oriented_bounding_box])

  # View cropped point cloud with the cuboid, only 3 points present
  o3d.visualization.draw_geometries([point_cloud_crop, oriented_bounding_box])

def getCuboidPoints(start_position):
  return np.array([
    # Vertices Polygon1
    [start_position['x'] + (CUBOID_EXTENT_METERS / 2), start_position['y'] + (CUBOID_EXTENT_METERS / 2), start_position['z'] + METERS_ABOVE_START], # face-topright
    [start_position['x'] - (CUBOID_EXTENT_METERS / 2), start_position['y'] + (CUBOID_EXTENT_METERS / 2), start_position['z'] + METERS_ABOVE_START], # face-topleft
    [start_position['x'] - (CUBOID_EXTENT_METERS / 2), start_position['y'] - (CUBOID_EXTENT_METERS / 2), start_position['z'] + METERS_ABOVE_START], # rear-topleft
    [start_position['x'] + (CUBOID_EXTENT_METERS / 2), start_position['y'] - (CUBOID_EXTENT_METERS / 2), start_position['z'] + METERS_ABOVE_START], # rear-topright

    # Vertices Polygon 2
    [start_position['x'] + (CUBOID_EXTENT_METERS / 2), start_position['y'] + (CUBOID_EXTENT_METERS / 2), start_position['z'] - METERS_BELOW_START],
    [start_position['x'] - (CUBOID_EXTENT_METERS / 2), start_position['y'] + (CUBOID_EXTENT_METERS / 2), start_position['z'] - METERS_BELOW_START],
    [start_position['x'] - (CUBOID_EXTENT_METERS / 2), start_position['y'] - (CUBOID_EXTENT_METERS / 2), start_position['z'] - METERS_BELOW_START],
    [start_position['x'] + (CUBOID_EXTENT_METERS / 2), start_position['y'] - (CUBOID_EXTENT_METERS / 2), start_position['z'] - METERS_BELOW_START],
  ]).astype("float64")

if __name__ == '__main__':
  main()
Вот сокращенная версия, которая показывает, как обрезать облако точек с помощью
np.arrayвершин:
      """
corners = [[ 5.31972845 -3.21384387  0.30217625]
 [ 5.34483288 -1.13804348  0.29917539]
 [ 7.69983939 -1.16651864  0.30329364]
 [ 7.67473496 -3.24231903  0.3062945 ]
 [ 5.31845904 -3.21276837  1.03551451]
 [ 5.34356348 -1.13696798  1.03251366]
 [ 7.69856999 -1.16544314  1.03663191]
 [ 7.67346556 -3.24124353  1.03963277]]
"""
corners = np.array(...)

# Convert the corners array to have type float64
bounding_polygon = corners.astype("float64")

# Create a SelectionPolygonVolume
vol = o3d.visualization.SelectionPolygonVolume()

# You need to specify what axis to orient the polygon to.
# I choose the "Y" axis. I made the max value the maximum Y of
# the polygon vertices and the min value the minimum Y of the
# polygon vertices.
vol.orthogonal_axis = "Y"
vol.axis_max = np.max(bounding_polygon[:, 1])
vol.axis_min = np.min(bounding_polygon[:, 1])

# Set all the Y values to 0 (they aren't needed since we specified what they
# should be using just vol.axis_max and vol.axis_min).
bounding_polygon[:, 1] = 0

# Convert the np.array to a Vector3dVector
vol.bounding_polygon = o3d.utility.Vector3dVector(bounding_polygon)

# Crop the point cloud using the Vector3dVector
cropped_pcd = vol.crop_point_cloud(pcd)

# Get a nice looking bounding box to display around the newly cropped point cloud
# (This part is optional and just for display purposes)
bounding_box = cropped_pcd.get_axis_aligned_bounding_box()
bounding_box.color = (1, 0, 0)

# Draw the newly cropped PCD and bounding box
o3d.visualization.draw_geometries([cropped_pcd, bounding_box],
                                  zoom=2,
                                  front=[5, -2, 0.5],
                                  lookat=[7.67473496, -3.24231903,  0.3062945],
                                  up=[1.0, 0.0, 0.0])
Вы можете выбрать любую ось как orthogonal_axis. Например, если вы выберете Z, определите свой многоугольник с набором точек с Z=0. Затем установите Z min и max, как если бы вы выдавливали объем, используя многоугольник между Z min и max. Надеюсь это поможет.

