Как нарисовать несколько горизонтальных кругов в прямоугольнике (UIButton или UIControl) Swift iOS
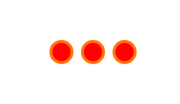
Как нарисовать около трех кругов в горизонтальной области с основным цветом и цветом кольца в прямоугольнике. Мне нужно создать пользовательскую кнопку с этими кругами, что-то вроде этого:
h ttps://stackru.com/images/62ef1cc58e848e2951ca1c30411b0cc9fb910e05.png
Есть ли хороший способ сделать это?
5 ответов
Мне помогло мое руководство, и вот решение для создания этого с динамически изменяющимся состоянием окружностей (с различными цветами обводки и заливки):
import UIKit

@IBDesignable
class CirclesButton: UIControl {

@IBInspectable
var firstCircle: Bool = false {
    didSet {
        setNeedsDisplay()
    }
}

@IBInspectable
var secondCircle: Bool = false {
    didSet {
        setNeedsDisplay()
    }
}

@IBInspectable
var thirdCircle: Bool = false {
    didSet {
        setNeedsDisplay()
    }
}

override func draw(_ rect: CGRect) {
    // get context
    guard let context = UIGraphicsGetCurrentContext() else { return }

    // make configurations
    context.setLineWidth(1.0);
    context.setStrokeColor(UIColor.white.cgColor)
    context.setFillColor(red: 0.0, green: 0.58, blue: 1.0, alpha: 1.0)

    // find view center
    let dotSize:CGFloat = 11.0
    let viewCenter = CGPoint(x: rect.midX, y: rect.midY)

    // find personal dot rect
    var dotRect = CGRect(x: viewCenter.x - dotSize / 2.0, y: viewCenter.y - dotSize / 2.0, width: dotSize, height: dotSize)

    if secondCircle {
        context.fillEllipse(in: dotRect)
    }
    context.strokeEllipse(in: dotRect)


    // find global notes rect
    dotRect = CGRect(x: viewCenter.x - dotSize * 1.5 - 4.0, y: viewCenter.y - dotSize / 2.0, width: dotSize, height: dotSize)
    if firstCircle {
        context.fillEllipse(in: dotRect)
    }
    context.strokeEllipse(in: dotRect)

    // find music rect
    dotRect = CGRect(x: viewCenter.x + dotSize / 2.0 + 4.0, y: viewCenter.y - dotSize / 2.0, width: dotSize, height: dotSize)
    if thirdCircle {
        context.setFillColor(red: 0.0, green: 1.0, blue: 0.04, alpha: 1.0)
        context.fillEllipse(in: dotRect)
    }
    context.strokeEllipse(in: dotRect)
}
}
Я буду выглядеть как: CirclesButton
Мы можем разработать такие виды с UIStackView в очень легкой манере. Возьмите stackView, установите его alignment в center, axis в horizontal а также distribution в fill, Создать UILabel/UIButton/UIImageView или даже UIView и добавьте округленный радиус и границу к нему. Наконец, добавьте эти представления в основной стек. Попробуй это.
override func viewDidLoad() {
    super.viewDidLoad()

    //Setup stackView
    let myStackView = UIStackView()
    myStackView.axis = .horizontal
    myStackView.alignment = .center
    myStackView.distribution = .fillEqually
    myStackView.spacing = 8
    view.addSubview(myStackView)

    //Setup circles
    let circle_1 = circleLabel()
    let circle_2 = circleLabel()
    let circle_3 = circleLabel()

    myStackView.addArrangedSubview(circle_1)
    myStackView.addArrangedSubview(circle_2)
    myStackView.addArrangedSubview(circle_3)

    myStackView.translatesAutoresizingMaskIntoConstraints = false
    myStackView.centerXAnchor.constraint(equalTo: view.centerXAnchor, constant: 0.0).isActive = true
    myStackView.centerYAnchor.constraint(equalTo: view.centerYAnchor, constant: 0.0).isActive = true
}

func circleLabel() -> UILabel {

    let label = UILabel()
    label.backgroundColor = UIColor.red
    label.layer.cornerRadius = 12.5
    label.layer.masksToBounds = true
    label.layer.borderColor = UIColor.orange.cgColor
    label.layer.borderWidth = 3.0

    label.widthAnchor.constraint(equalToConstant: 25.0).isActive = true
    label.heightAnchor.constraint(equalToConstant: 25.0).isActive = true

    return label
}
Чтобы сделать Единый Круг таким, вам нужно использовать UIBezierPath а также CAShapeLayer,
 let outerCirclePath = UIBezierPath(arcCenter: CGPoint(x: 100,y: 100), radius: CGFloat(50), startAngle: CGFloat(0), endAngle:CGFloat(Double.pi * 2), clockwise: true)

    let outerCircleShapeLayer = CAShapeLayer()
    outerCircleShapeLayer.path = outerCirclePath.cgPath

    outerCircleShapeLayer.fillColor = UIColor.white.cgColor

    outerCircleShapeLayer.lineWidth = 3.0

    view.layer.addSublayer(outerCircleShapeLayer)

    // Drawing the inner circle
    let innerCirclePath = UIBezierPath(arcCenter: CGPoint(x: 100,y: 100), radius: CGFloat(40), startAngle: CGFloat(0), endAngle:CGFloat(Double.pi * 2), clockwise: true)

    let innerCircleShapeLayer = CAShapeLayer()
    innerCircleShapeLayer.path = innerCirclePath.cgPath

    innerCircleShapeLayer.fillColor = UIColor.blue.cgColor

    view.layer.addSublayer(innerCircleShapeLayer)
Я приложил изображение ниже для версии Playground.
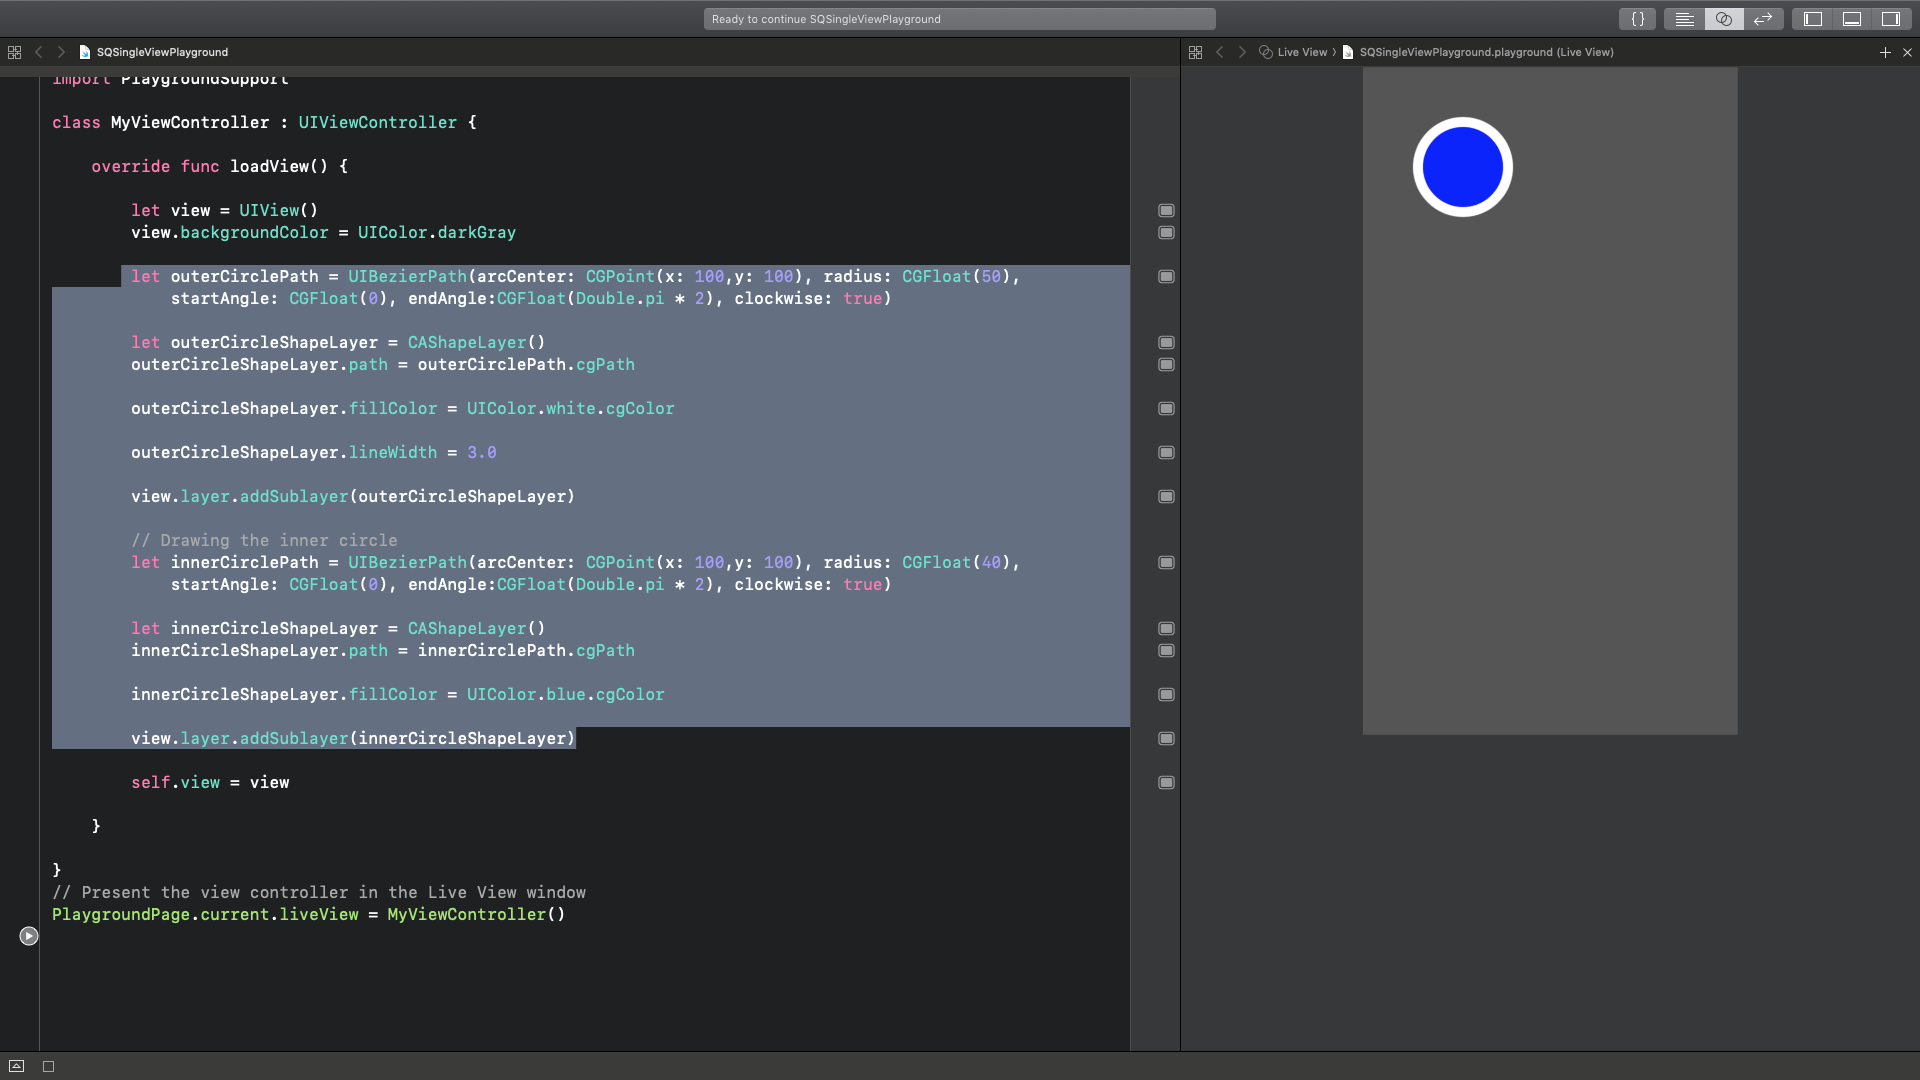
Просто поиграйте с arcCenter и значениями радиуса, и вы получите желаемый результат
Лучшее и универсальное решение для ** создания кнопок или меток (полностью динамическое)**
var x = 10
    var y = 5
    var buttonHeight = 40
    var buttonWidth = 40

    for i in 0..<3  {
        let roundButton = UIButton(frame: CGRect(x: x, y: y, width: buttonWidth, height: buttonHeight))
        roundButton.setTitle("Butt\(i)", for: .normal)
        roundButton.layer.cornerRadius = roundButton.bounds.size.height/2
        yourButtonBackView.addSubview(roundButton)
        x = x + buttonWidth + 10
        if x >= Int(yourButtonBackView.frame.width - 30) {
            y = y + buttonHeight + 10
            x = 10
        }
    }
Код:
class ViewController: UIViewController {

    override func viewDidLoad() {
        super.viewDidLoad()

        let buttonSize: CGFloat = 80

        let firstButton = CustomButton(position: CGPoint(x: 0, y: 0), size: buttonSize, color: .blue)
        self.view.addSubview(firstButton)

        let secondButton = CustomButton(position: CGPoint(x: firstButton.frame.maxX, y: 0), size: buttonSize, color: .blue)
        self.view.addSubview(secondButton)

        let thirdButton = CustomButton(position: CGPoint(x: secondButton.frame.maxX, y: 0), size: buttonSize, color: .green)
        self.view.addSubview(thirdButton)
    }

}


class CustomButton: UIButton {

    init(position: CGPoint, size: CGFloat, color: UIColor) {
        super.init(frame: CGRect(x: position.x, y: position.y, width: size, height: size))
        self.backgroundColor = color
        self.layer.cornerRadius = size / 2
        self.clipsToBounds = true
        self.layer.borderWidth = 4.0 // make it what ever you want
        self.layer.borderColor = UIColor.white.cgColor
    }

    required init?(coder aDecoder: NSCoder) {
        fatalError()
    }
}
Вы можете обрабатывать кнопки, нажав:
override func viewDidLoad() {
    super.viewDidLoad()
    firstButton.addTarget(self, action: #selector(handleFirstButton), for: .touchUpInside)
}
@objc func handleFirstButton(sender: UIButton) {
    print("first button tapped")
}