Загрузить изображение с URL в уведомлении Android
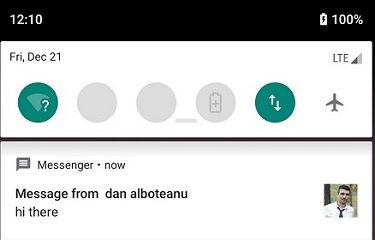
В моем приложении для Android я хочу динамически устанавливать значки уведомлений, которые будут загружаться с URL. Для этого я использовал setLargeIcon свойство NotificationBuilder в receiverЯ ссылался на многие ссылки, но и пробовал различные решения, но не смог получить желаемый результат. Хотя я скачал это изображение с URL-адреса и установил это растровое изображение в уведомлении, оно не отображается, вместо этого оно отображает setSmallIcon изображение как большой значок. Я не знаю, где я иду не так. Здесь я публикую свой код. Пожалуйста, помогите мне решить эту проблему. Спасибо.
Код:
@SuppressLint("NewApi")
public class C2DMMessageReceiver extends BroadcastReceiver {

    @Override
    public void onReceive(Context context, Intent intent) {
        String action = intent.getAction();
        if ("com.google.android.c2dm.intent.RECEIVE".equals(action)) {
            Log.e("C2DM", "received message");
            final String fullName = intent.getStringExtra("message");
            final String payload1 = intent.getStringExtra("message1");
            final String payload2 = intent.getStringExtra("message2");
            final String userImage = intent.getStringExtra("userImage");

            Log.e("userImage Url :", userImage); //it shows correct url

            new sendNotification(context)
                    .execute(fullName, payload1, userImage);
        }
    }

private class sendNotification extends AsyncTask<String, Void, Bitmap> {

        Context ctx;
        String message;

        public sendNotification(Context context) {
            super();
            this.ctx = context;
        }

        @Override
        protected Bitmap doInBackground(String... params) {

            InputStream in;
            message = params[0] + params[1];
            try {

                in = new URL(params[2]).openStream();
                Bitmap bmp = BitmapFactory.decodeStream(in);
                return bmp;

            } catch (MalformedURLException e) {
                e.printStackTrace();
            } catch (IOException e) {
                e.printStackTrace();
            }
            return null;
        }

        @Override
        protected void onPostExecute(Bitmap result) {

            super.onPostExecute(result);
            try {
                NotificationManager notificationManager = (NotificationManager) ctx
                        .getSystemService(Context.NOTIFICATION_SERVICE);

                Intent intent = new Intent(ctx, NotificationsActivity.class);
                intent.putExtra("isFromBadge", false);


                Notification notification = new Notification.Builder(ctx)
                        .setContentTitle(
                                ctx.getResources().getString(R.string.app_name))
                        .setContentText(message)
                        .setSmallIcon(R.drawable.ic_launcher)
                        .setLargeIcon(result).build();

                // hide the notification after its selected
                notification.flags |= Notification.FLAG_AUTO_CANCEL;

                notificationManager.notify(1, notification);

            } catch (Exception e) {
                e.printStackTrace();
            }
        }
    }
9 ответов
Изменил мой код, как показано ниже, и теперь он работает:
private class sendNotification extends AsyncTask<String, Void, Bitmap> {

        Context ctx;
        String message;

        public sendNotification(Context context) {
            super();
            this.ctx = context;
        }

        @Override
        protected Bitmap doInBackground(String... params) {

            InputStream in;
            message = params[0] + params[1];
            try {

 URL url = new URL(params[2]);
        HttpURLConnection connection = (HttpURLConnection) url.openConnection();
        connection.setDoInput(true);
        connection.connect();
        in = connection.getInputStream();
        Bitmap myBitmap = BitmapFactory.decodeStream(in);
        return myBitmap;


            } catch (MalformedURLException e) {
                e.printStackTrace();
            } catch (IOException e) {
                e.printStackTrace();
            }
            return null;
        }

        @Override
        protected void onPostExecute(Bitmap result) {

            super.onPostExecute(result);
            try {
                NotificationManager notificationManager = (NotificationManager) ctx
                        .getSystemService(Context.NOTIFICATION_SERVICE);

                Intent intent = new Intent(ctx, NotificationsActivity.class);
                intent.putExtra("isFromBadge", false);


                Notification notification = new Notification.Builder(ctx)
                        .setContentTitle(
                                ctx.getResources().getString(R.string.app_name))
                        .setContentText(message)
                        .setSmallIcon(R.drawable.ic_launcher)
                        .setLargeIcon(result).build();

                // hide the notification after its selected
                notification.flags |= Notification.FLAG_AUTO_CANCEL;

                notificationManager.notify(1, notification);

            } catch (Exception e) {
                e.printStackTrace();
            }
        }
    }
Вы можете сделать это с помощью Glide следующим образом:
val notificationBuilder = NotificationCompat.Builder(this, channelId)
        .setSmallIcon(R.drawable.ic_message)
        .setContentTitle("title")
        .setContentText("text")

val notificationManager = getSystemService(Context.NOTIFICATION_SERVICE) as NotificationManager

val futureTarget = Glide.with(this)
        .asBitmap()
        .load(photoUrl)
        .submit()

val bitmap = futureTarget.get()
notificationBuilder.setLargeIcon(bitmap)

Glide.with(this).clear(futureTarget)

notificationManager.notify(0, notificationBuilder.build())
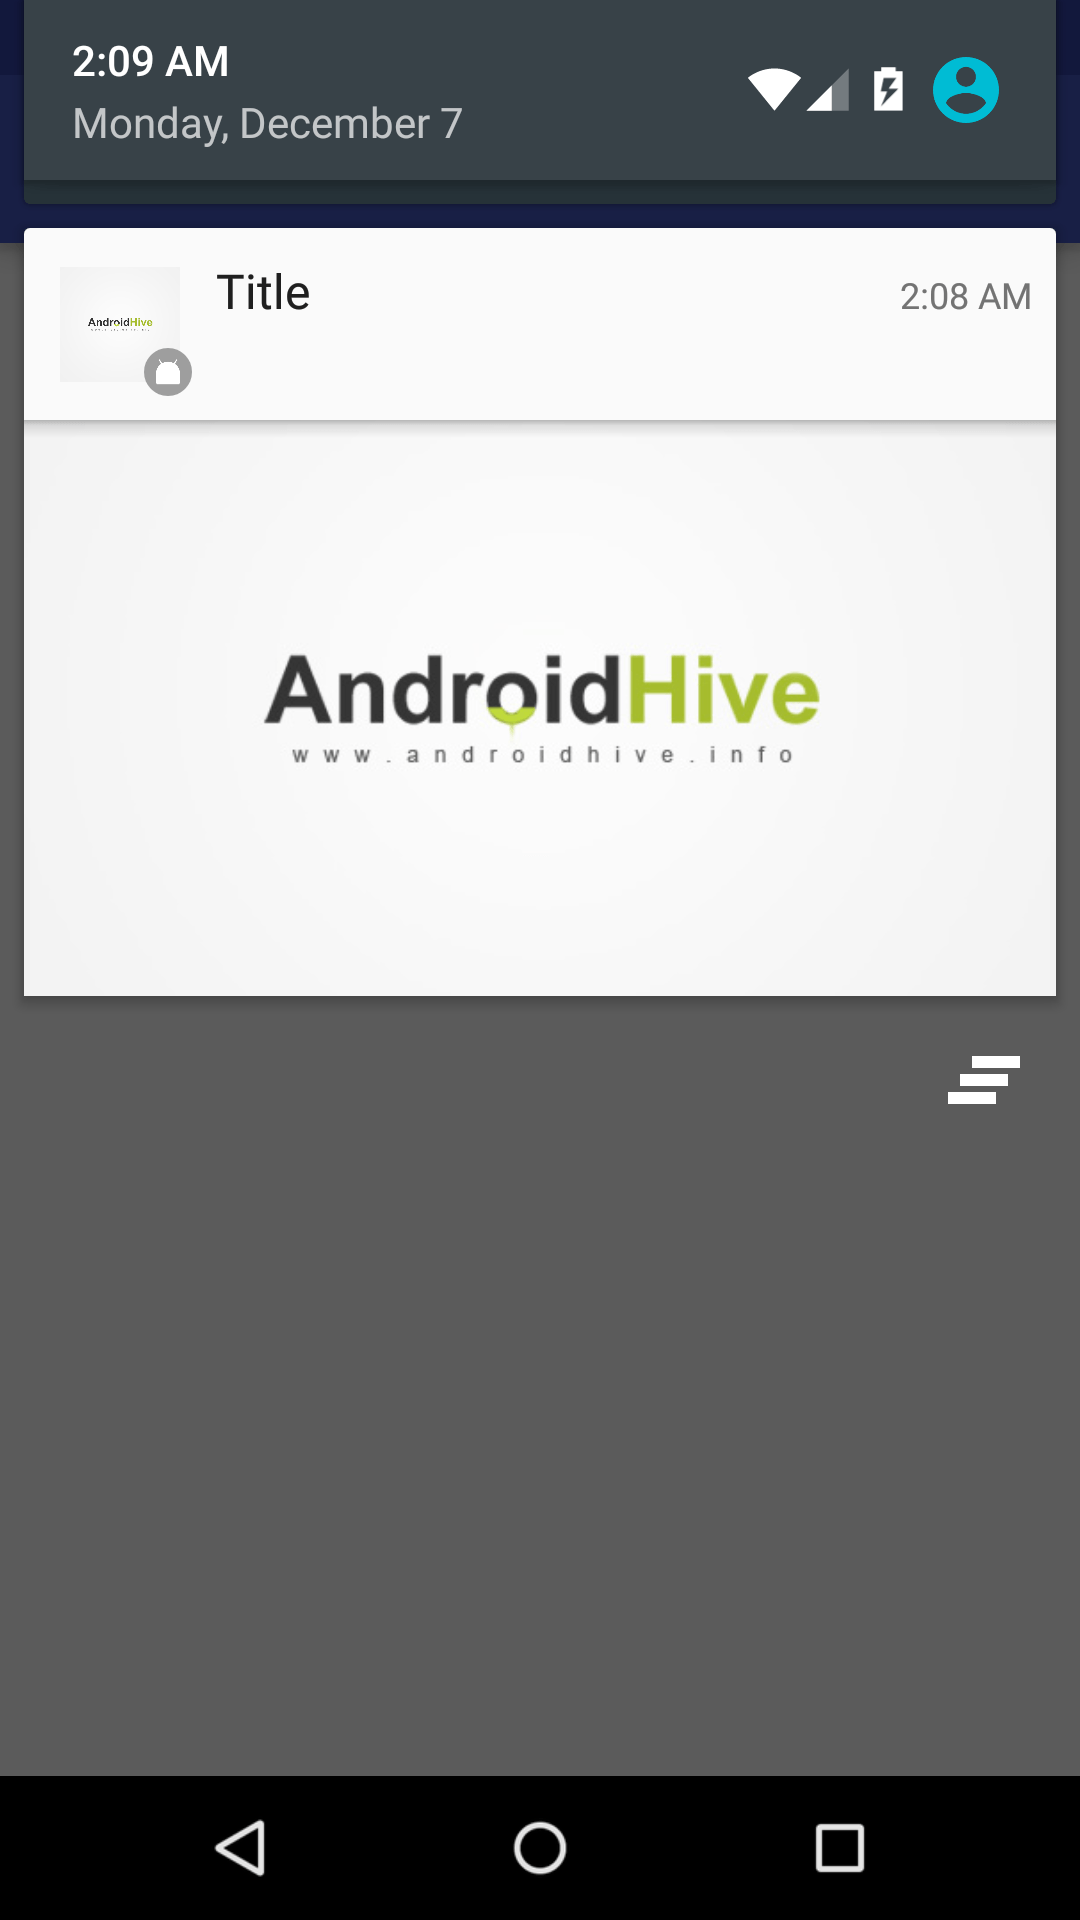
Как реализовать уведомление в стиле BigPicture:
Чудо было сделано .setStyle(new Notification.BigPictureStyle().bigPicture(result)):
Я сделал это с:
Создать уведомление от AsyncTask:
new generatePictureStyleNotification(this,"Title", "Message",
                 "http://api.androidhive.info/images/sample.jpg").execute();
AsyncTask:
public class generatePictureStyleNotification extends AsyncTask<String, Void, Bitmap> {

        private Context mContext;
        private String title, message, imageUrl;

        public generatePictureStyleNotification(Context context, String title, String message, String imageUrl) {
            super();
            this.mContext = context;
            this.title = title;
            this.message = message;
            this.imageUrl = imageUrl;
        }

        @Override
        protected Bitmap doInBackground(String... params) {

            InputStream in;
            try {
                URL url = new URL(this.imageUrl);
                HttpURLConnection connection = (HttpURLConnection) url.openConnection();
                connection.setDoInput(true);
                connection.connect();
                in = connection.getInputStream();
                Bitmap myBitmap = BitmapFactory.decodeStream(in);
                return myBitmap;
            } catch (MalformedURLException e) {
                e.printStackTrace();
            } catch (IOException e) {
                e.printStackTrace();
            }
            return null;
        }

        @TargetApi(Build.VERSION_CODES.JELLY_BEAN)
        @Override
        protected void onPostExecute(Bitmap result) {
            super.onPostExecute(result);

            Intent intent = new Intent(mContext, MyOpenableActivity.class);
            intent.putExtra("key", "value");
            PendingIntent pendingIntent = PendingIntent.getActivity(mContext, 100, intent, PendingIntent.FLAG_ONE_SHOT);

            NotificationManager notificationManager = (NotificationManager) mContext.getSystemService(Context.NOTIFICATION_SERVICE);
            Notification notif = new Notification.Builder(mContext)
                    .setContentIntent(pendingIntent)
                    .setContentTitle(title)
                    .setContentText(message)
                    .setSmallIcon(R.mipmap.ic_launcher)
                    .setLargeIcon(result)
                    .setStyle(new Notification.BigPictureStyle().bigPicture(result))
                    .build();
            notif.flags |= Notification.FLAG_AUTO_CANCEL;
            notificationManager.notify(1, notif);
        }
    }
Лучший ответ в Котлине и с сопрограммами. Этот метод применяет растровое изображение кbuilderвместо прямого назначения и, конечно, если доступно растровое изображение. Это хорошо, потому что, если URL-адрес неверен, он будет пойман в try/catch.
fun applyImageUrl(
    builder: NotificationCompat.Builder,
    imageUrl: String
) = runBlocking {
    val url = URL(imageUrl)

    withContext(Dispatchers.IO) {
        try {
            val input = url.openStream()
            BitmapFactory.decodeStream(input)
        } catch (e: IOException) {
            null
        }
    }?.let { bitmap ->
        builder.setLargeIcon(bitmap)
    }
}
с Kotlin и RxJava
fun applyImageUrl(
    builder: NotificationCompat.Builder,
    imageUrl: String
) {
    val url = URL(imageUrl)

    Single.create<Bitmap> { emitter ->
        try {
            val input = url.openStream()
            val bitmap = BitmapFactory.decodeStream(input)
            emitter.onSuccess(bitmap)
        } catch (e: Exception) {
            emitter.onError(e)
        }
    }.subscribeOn(Schedulers.io())
        .observeOn(AndroidSchedulers.mainThread())
        .subscribe(
            {
                builder.setLargeIcon(it)
            }, {
                Timber.e("error generating bitmap for notification")
            }
        )
}
Поскольку изображение загружается из Интернета, оно должно выполняться асинхронно в фоновом потоке. Либо используйте задачу async, либо Glide (для эффективной загрузки изображений).
Чтобы загрузить уведомление об изображении, вам необходимо использовать "NotificationCompat.BigPictureStyle()". Для этого требуется растровое изображение (которое должно быть извлечено из URL-адреса изображения)
Большинство API и методов Glide теперь устарели. Ниже показана работа с Glide 4.9 и до Android 10.
 // Load bitmap from image url on background thread and display image notification
        private void getBitmapAsyncAndDoWork(String imageUrl) {

            final Bitmap[] bitmap = {null};

            Glide.with(getApplicationContext())
                    .asBitmap()
                    .load(imageUrl)
                    .into(new CustomTarget<Bitmap>() {
                        @Override
                        public void onResourceReady(@NonNull Bitmap resource, @Nullable Transition<? super Bitmap> transition) {

                            bitmap[0] = resource;
                            // TODO Do some work: pass this bitmap
                            displayImageNotification(bitmap[0]);
                        }

                        @Override
                        public void onLoadCleared(@Nullable Drawable placeholder) {
                        }
                    });
        }
Один раз отобразите уведомление об изображении, растровое изображение готово.
private void displayImageNotification(Bitmap bitmap) {

      NotificationCompat.Builder builder = new NotificationCompat.Builder(getApplicationContext(), getChannelId());
            builder
                    .setContentTitle(title)
                    .setContentText(subtext)
                    .setDefaults(Notification.DEFAULT_LIGHTS | Notification.DEFAULT_VIBRATE)
                    .setSmallIcon(SMALL_ICON)
                    .setPriority(NotificationCompat.PRIORITY_DEFAULT)
                    .setColor(getApplicationContext().getColor(color))
                    .setAutoCancel(true)
                    .setOngoing(false)
                    .setOnlyAlertOnce(true)
                    .setContentIntent(pendingIntent)
                     .setStyle(
                     new NotificationCompat.BigPictureStyle().bigPicture(bitmap))
                    .setPriority(Notification.PRIORITY_HIGH);

        getManager().notify(tag, id, builder.build());
}
Я знаю, что был дан хороший ответ, поэтому давайте посмотрим, сможем ли мы облегчить понимание и реализацию.
--------------------- Теория ------------------------
Проблема может быть разделена на два этапа, а именно:
1) Получить изображение с URL
2) Расшифруйте изображение и передайте построителю уведомлений
1) Получить изображение с URLInputStream in = new URL("Img URL goes here eg. http://gg.com/profile.jpg").openStream();
2) Расшифровать и перейти к уведомлению Bitmap bmp = null; # Создайте пустой BMP-контейнер, который будет использоваться для хранения декодированного img bmp = BitmapFactory.decodeStream(in); # сохранить изображение в контейнер
Вуаля! как только вы создадите образ и сохраните его в переменной bmp, вы можете вызвать его в построителе уведомлений.setLargeIcon(bmp)
--------Реализация---------------
Студия Android предложит вам обернуть ваш код в try catch, чтобы конечный продукт выглядел следующим образом.
Bitmap bmp = null;
try {
    InputStream in = new URL("url goes here").openStream();
    bmp = BitmapFactory.decodeStream(in);
} catch (IOException e) {
    e.printStackTrace();
}
Если у вас есть bmp, вы можете вызвать его в уведомителе как
NotificationCompat.Builder mBuilder = new NotificationCompat.Builder(this, CHANNEL_ID)
            .setSmallIcon(R.drawable.ic_launcher)
            .setContentText("title")
            .setContentText("text goes here")
            .setLargeIcon(bmp)
            .setAutoCancel(true);
RxJava и путь Пикассо
      private fun bigImageNotification(ctx: Context, title: String, msg: String, imgUrl: String): Disposable? {
    return Observable.fromCallable {
        Picasso.get().load(imgUrl).get()
    }
            .subscribeOn(Schedulers.io())
            .observeOn(AndroidSchedulers.mainThread())
            .subscribe({
                createNotification(ctx, title, msg, it)
            }, {it.printStackTrace()})
}

private fun createNotification(ctx: Context, title: String, msg: String, img: Bitmap?) {
    val b = Notification.Builder(ctx)
    b.setAutoCancel(true)
            .setSmallIcon(R.mipmap.ic_launcher)
            .setContentTitle(title)
            .setContentText(msg)
            .setStyle(Notification.BigPictureStyle().bigPicture(img))
    val notificationManager = ctx.getSystemService(Context.NOTIFICATION_SERVICE) as NotificationManager
    notificationManager.notify(1000, b.build())
}
использование
bigImageNotification(context, "title", "msg", "https://www.google.com/images/branding/googlelogo/1x/googlelogo_color_272x92dp.png")
Поскольку я не смог найти никакого рабочего решения для Picasso, я публикую свой полный рабочий пример (июль 2020 г.) с использованием Picasso ниже.
Он немедленно отправляет уведомление, а затем обновляет его, когда изображение для setLargeIcon() загружено. Обычно это происходит очень быстро, и в большинстве случаев пользователь должен видеть только обновленную версию уведомления.
private void sendNotification(String message, String title, final String photoUrl) {
    Intent intent = new Intent(this, MainActivity.class);
    intent.addFlags(Intent.FLAG_ACTIVITY_CLEAR_TOP);
    PendingIntent pendingIntent = PendingIntent.getActivity(this, 0, intent,
            PendingIntent.FLAG_ONE_SHOT);

    final NotificationCompat.Builder notificationBuilder =
            new NotificationCompat.Builder(this, CHANNEL_ID)
                    .setSmallIcon(R.drawable.wbib_transp_512)
                    .setContentTitle(title)
                    .setContentText(message)
                    .setAutoCancel(true)
                    .setPriority(NotificationCompat.PRIORITY_HIGH)
                    .setCategory(NotificationCompat.CATEGORY_MESSAGE)
                    .setContentIntent(pendingIntent);

    final NotificationManager notificationManager =
            (NotificationManager) getSystemService(Context.NOTIFICATION_SERVICE);

    notificationManager.notify(0, notificationBuilder.build());

    final Handler uiHandler = new Handler(Looper.getMainLooper());
    uiHandler.post(new Runnable() {
        @Override
        public void run() {
            Picasso.get()
                    .load(photoUrl)
                    .resize(200, 200)
                    .into(new Target() {
                        @Override
                        public void onBitmapLoaded(final Bitmap bitmap, final Picasso.LoadedFrom from) {
                            notificationBuilder.setLargeIcon(bitmap);
                            notificationManager.notify(0, notificationBuilder.build());
                        }

                        @Override
                        public void onBitmapFailed(Exception e, final Drawable errorDrawable) {
                            // Do nothing?
                        }

                        @Override
                        public void onPrepareLoad(final Drawable placeHolderDrawable) {
                            // Do nothing?
                        }
                    });
        }
    });


}
Использование библиотеки Пикассо.
               Target target = new Target() {
                    @Override
                    public void onBitmapLoaded(Bitmap bitmap, Picasso.LoadedFrom from) {
                        largeIcon=bitmap;
                    }

                    @Override
                    public void onBitmapFailed(Drawable errorDrawable) {
                    }

                    @Override
                    public void onPrepareLoad(Drawable placeHolderDrawable) {
                    }
                };

                Picasso.with(this).load("url").into(target);


               NotificationCompat.Builder notificationBuilder =
                    new NotificationCompat.Builder(this, channelId)
                            .setSmallIcon(R.drawable.icon)
                            .setContentTitle(msg.getString("title"))
                            .setContentText(msg.getString("msg"))
                            .setAutoCancel(true)
                            .setSound(defaultSoundUri)
                            .setLargeIcon(largeIcon)
                            .setContentIntent(pendingIntent);

