Angular2: как ngfor расширен
Я знаю правила учебника по этому <div *ngFor="let foo of foobars">{{foo.stuff}}</div> превращается в <template ngFor let-foo="$implicit" [ngForOf]="foobars"><div>...</div></template>, У меня вопрос двоякий:
- КАК?
- Что мне нужно сделать, чтобы использовать этот механизм ("микросинтаксис") самостоятельно?
Т.е. очередь <div *myDirective="item">{{item.stuff}}</div> в <template myDirective let-item="$implicit"><div>{{item.stuff}}</div></template>?
Так как я читаю исходный код ngFor сверху вниз, я могу только предполагать, что эта темная магия где-то находится в компиляторе, я пробирался вверх и вниз по угловому github, но я не могу это понять. Помогите!
2 ответа
Да, все волшебство происходит в компиляторе.
Давайте возьмем этот шаблон:
<div *ngFor="let foo of foobars">{{foo}}</div>
Сначала это будет преобразовано в следующее:
<div template="ngFor let foo of foobars>{{foo}}</div>
А потом:
<template ngFor let-foo [ngForOf]="foobars"><div>{{foo}}</div></template>
В Angular2 RC.4 это выглядит так 
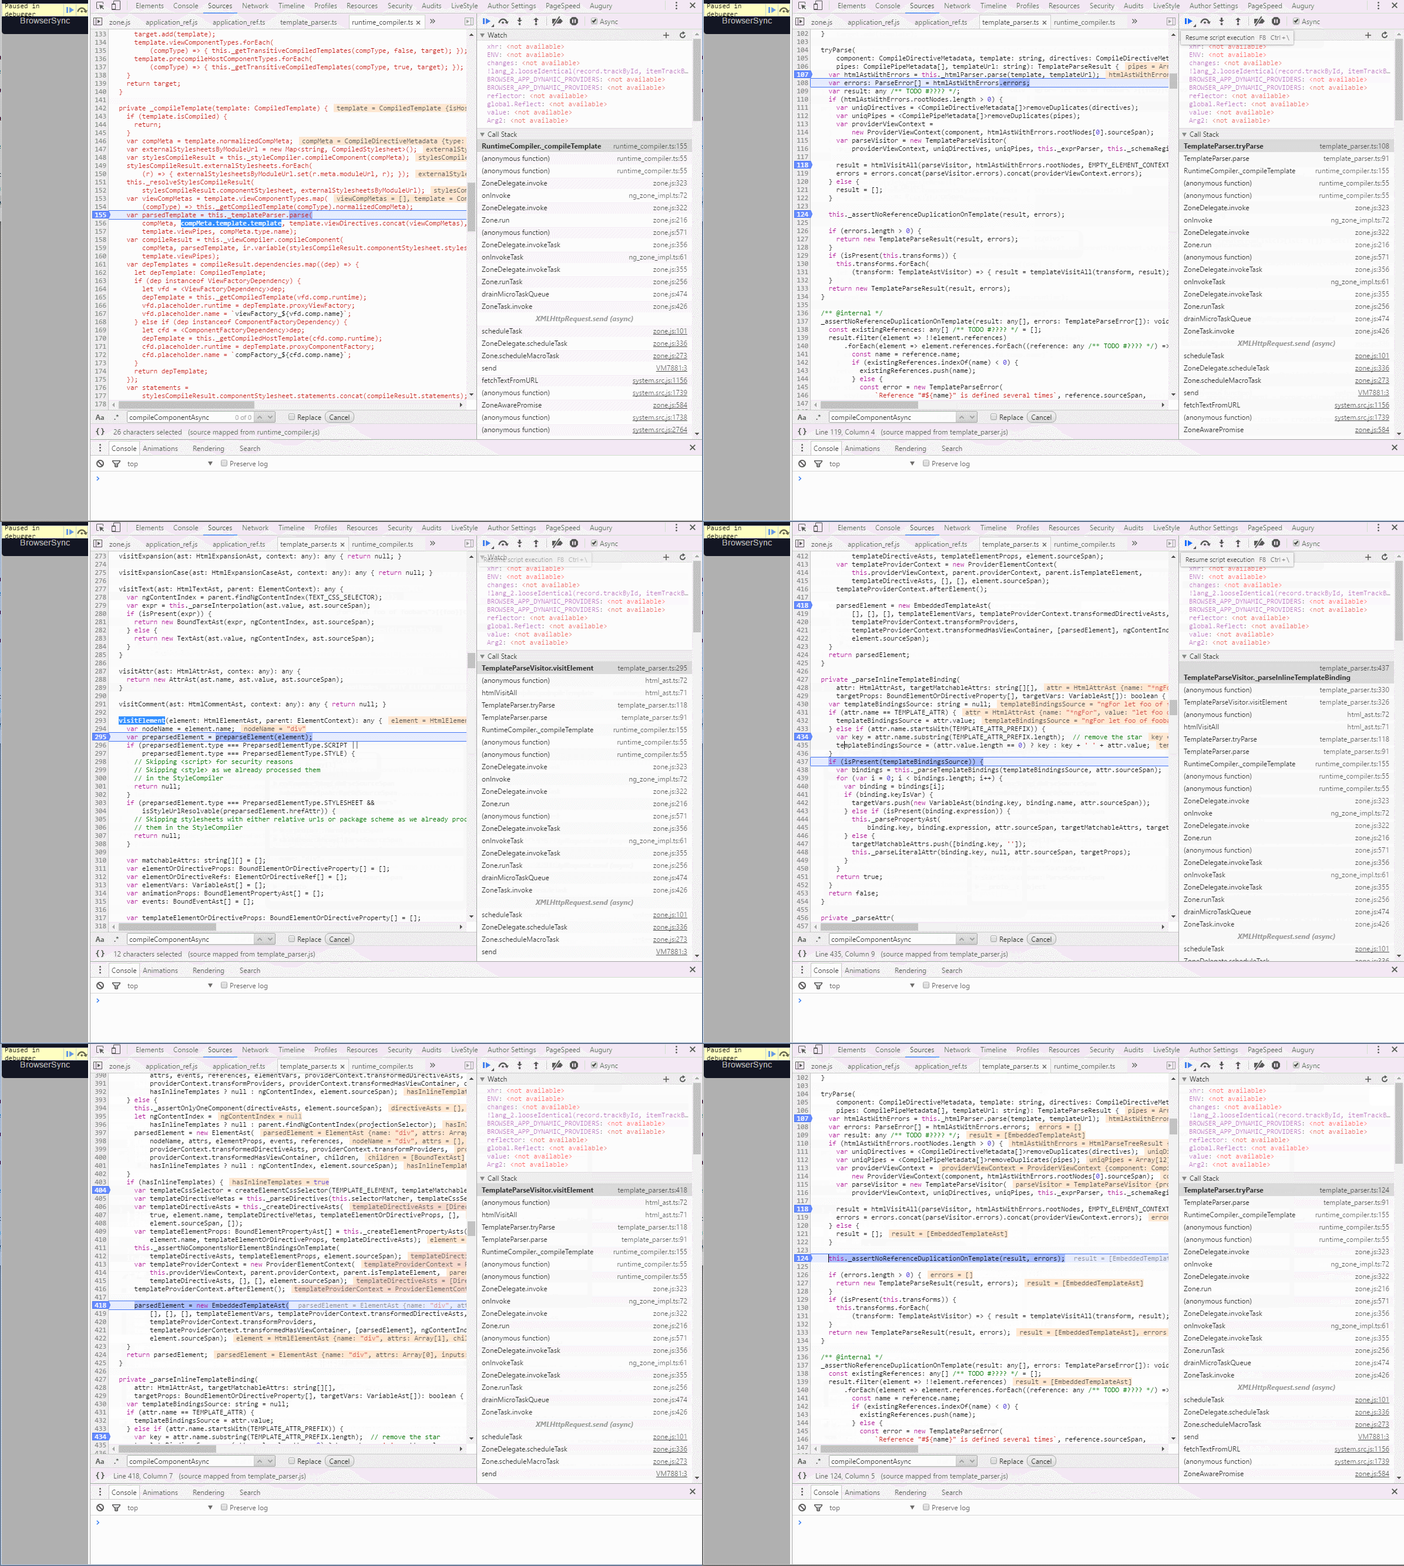
Сначала генерируется узел дерева дерева (Узел абстрактного синтаксического дерева), а затем вся магия происходит в TemplateParseVisitor.visitElement( https://github.com/angular/angular/blob/2.0.0-rc.4/modules/%40angular/compiler/src/template_parser.ts#L284) специально внизу ( https://github.com/angular/angular/blob/2.0.0-rc.4/modules/%40angular/compiler/src/template_parser.ts#L394)
if (hasInlineTemplates) {
  var templateCssSelector = createElementCssSelector(TEMPLATE_ELEMENT, templateMatchableAttrs);
  var templateDirectiveMetas = this._parseDirectives(this.selectorMatcher, templateCssSelector);
  var templateDirectiveAsts = this._createDirectiveAsts(
      true, element.name, templateDirectiveMetas, templateElementOrDirectiveProps, [],
      element.sourceSpan, []);
  var templateElementProps: BoundElementPropertyAst[] = this._createElementPropertyAsts(
      element.name, templateElementOrDirectiveProps, templateDirectiveAsts);
  this._assertNoComponentsNorElementBindingsOnTemplate(
      templateDirectiveAsts, templateElementProps, element.sourceSpan);
  var templateProviderContext = new ProviderElementContext(
      this.providerViewContext, parent.providerContext, parent.isTemplateElement,
      templateDirectiveAsts, [], [], element.sourceSpan);
  templateProviderContext.afterElement();

  parsedElement = new EmbeddedTemplateAst(
      [], [], [], templateElementVars, templateProviderContext.transformedDirectiveAsts,
      templateProviderContext.transformProviders,
      templateProviderContext.transformedHasViewContainer, [parsedElement], ngContentIndex,
      element.sourceSpan);
}
return parsedElement;
Этот метод возвращает EmbeddedTemplateAst, Это так же, как:
<template ngFor let-foo [ngForOf]="foobars"><div>{{foo}}</div></template>
Если вы хотите включить:
<div *myDirective="item">{{item.stuff}}</div>
в
<template myDirective let-item><div>{{item.stuff}}</div></template>
тогда вам нужно использовать следующий синтаксис:
<div *myDirective="let item">{{item.stuff}}</div>
Но в этом случае вы не пройдете контекст. Ваша пользовательская структурная директива может выглядеть так:
@Directive({
  selector: '[myDirective]'
})
export class MyDirective {
  constructor(
    private _viewContainer: ViewContainerRef,
    private _templateRef: TemplateRef<any>) {}

   @Input() set myDirective(prop: Object) {
    this._viewContainer.clear();
    this._viewContainer.createEmbeddedView(this._templateRef, prop); <== pass context
  }
}
И вы можете использовать его как:
<div *myDirective="item">{{item.stuff}}</div>

               ||
               \/

<div template="myDirective:item">{{item.stuff}}</div>

               ||
               \/

<template [myDirective]="item">
   <div>{{item.stuff}}</div>
</template>
Я надеюсь, что это поможет вам понять, как работают структурные директивы.
Обновить:
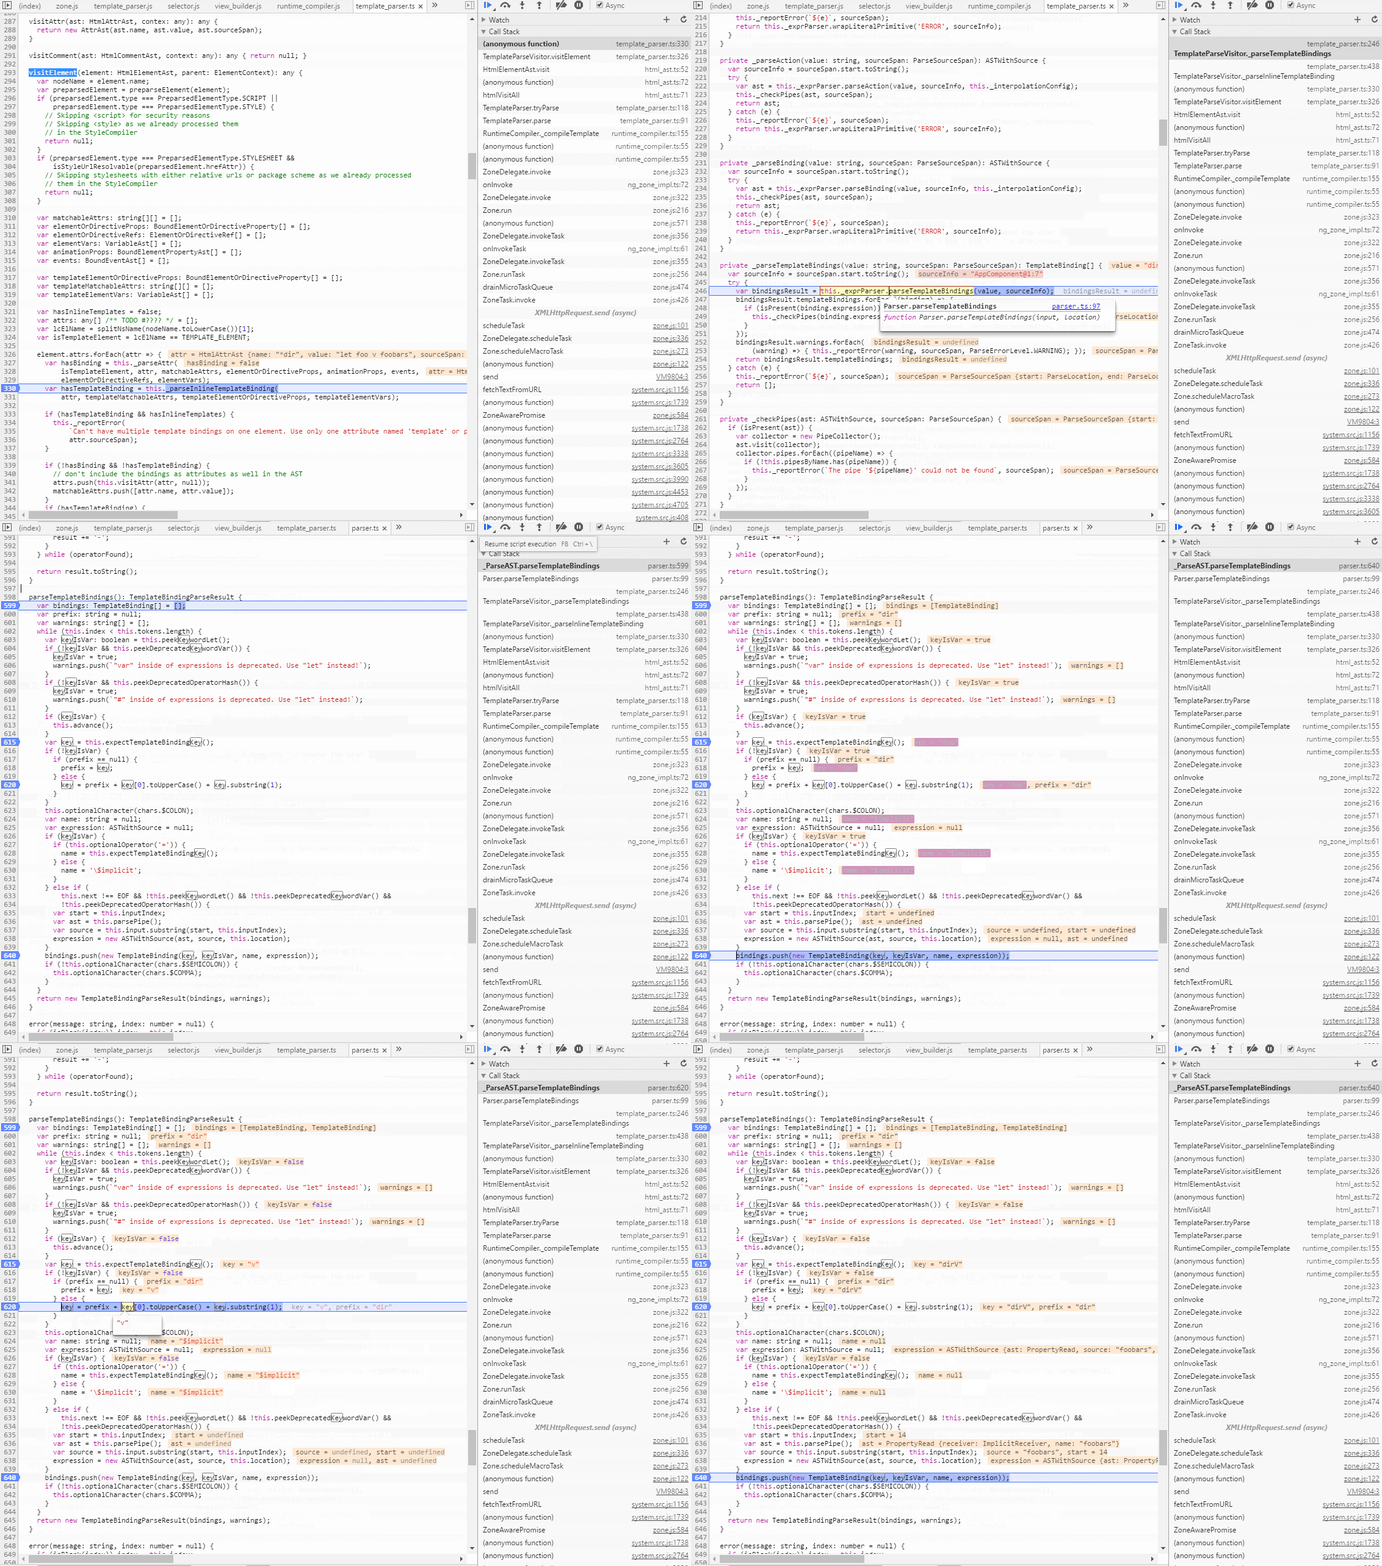
Посмотрим, как это работает ( плункер)
*dir="let foo v foobars" => [dirV]="foobars"
Таким образом, вы можете написать следующую директиву:
@Directive({
  selector: '[dir]'
})
export class MyDirective {
  @Input()
  dirV: any;

  @Input()
  dirK: any;

  ngAfterViewInit() {
    console.log(this.dirV, this.dirK);
  }
}

@Component({
  selector: 'my-app',
  template: `<h1>Angular 2 Systemjs start</h1>
  <div *dir="let foo v foobars k arr">{ foo }</div>
  `,
  directives: [MyDirective]
})
export class AppComponent {
  foobars = [1, 2, 3];
  arr = [3,4,5]
}
Вот соответствующий Plunker
Смотрите также
- https://angular.io/docs/ts/latest/guide/structural-directives.html
- https://teropa.info/blog/2016/03/06/writing-an-angular-2-template-directive.html
- https://www.bennadel.com/blog/3076-creating-an-index-loop-structural-directive-in-angular-2-beta-14.htm
- https://egghead.io/lessons/angular-2-write-a-structural-directive-in-angular-2
Живой пример вы можете найти здесь https://alexzuza.github.io/enjoy-ng-parser/
*ngFor, *ngIf... являются структурными директивами.
Либо применить его на <template> элемент или префикс с *
https://angular.io/docs/ts/latest/guide/structural-directives.html
import { Directive, Input } from '@angular/core';
import { TemplateRef, ViewContainerRef } from '@angular/core';
@Directive({ selector: '[myUnless]' })
export class UnlessDirective {
  constructor(
    private templateRef: TemplateRef<any>,
    private viewContainer: ViewContainerRef
    ) { }
  @Input() set myUnless(condition: boolean) {
    if (!condition) {
      this.viewContainer.createEmbeddedView(this.templateRef);
    } else {
      this.viewContainer.clear();
    }
  }
}
